The HubSpot CRM can create pop-up or moving forms that appear on WordPress posts or pages to provide quick responses, display information, or trigger automated sequences for your customers. Providing these forms promotes positive interaction and opportunities with your website visitors to help expand your user base and increase your revenues.
This tutorial will walk you through creating pop-up or moving forms. You will also see the different settings used when making these forms.
What are Pop-up or Moving Forms
Pop-up or moving forms present quick messages, actions or trigger automated sequences. Pop-up forms appear in a separate window of a web page, and moving forms include drop-down banners, slide in left and slide in right boxes.
How To Create a Pop-up or Moving Form
The steps below walk you through creating Pop-up or Moving forms. You must be logged into the WordPress Administrator Dashboard to follow these instructions.
- Click on HubSpot in the main menu.
- Click on Forms.
- Click on Create in the top right corner.
- Click on the Pop-up box or sliding form you will create. The steps for this form differ slightly from the Embedded/Standalone forms.
- Click on Next. This opens the Callout page. The Callout page is one of six steps in the form creation process. The screenshot below shows the steps labeled at the top of the page.
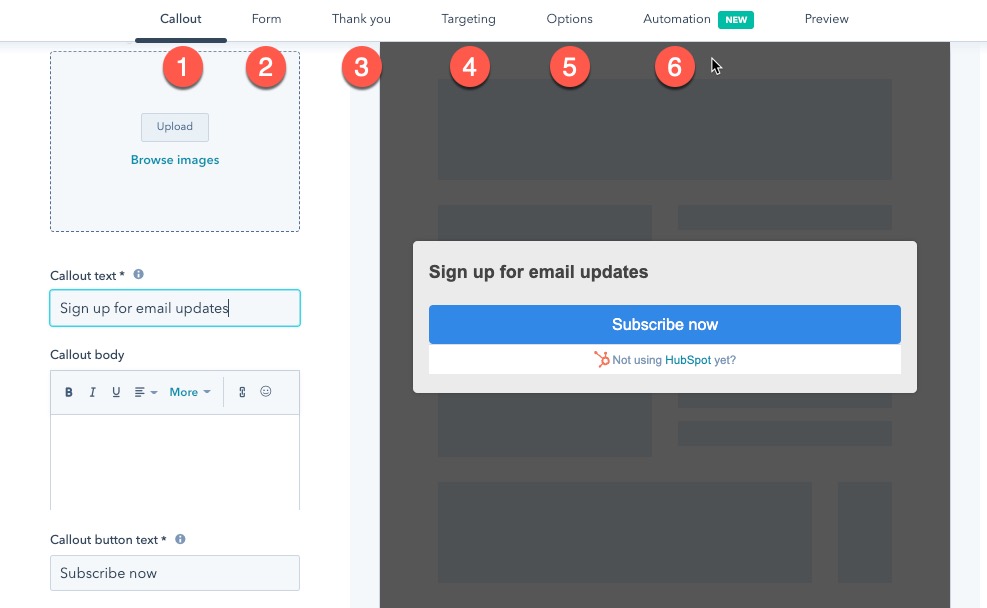
- Use the options on the Callout page to make changes. Changes you make will appear in the preview area on the right side of the screen.
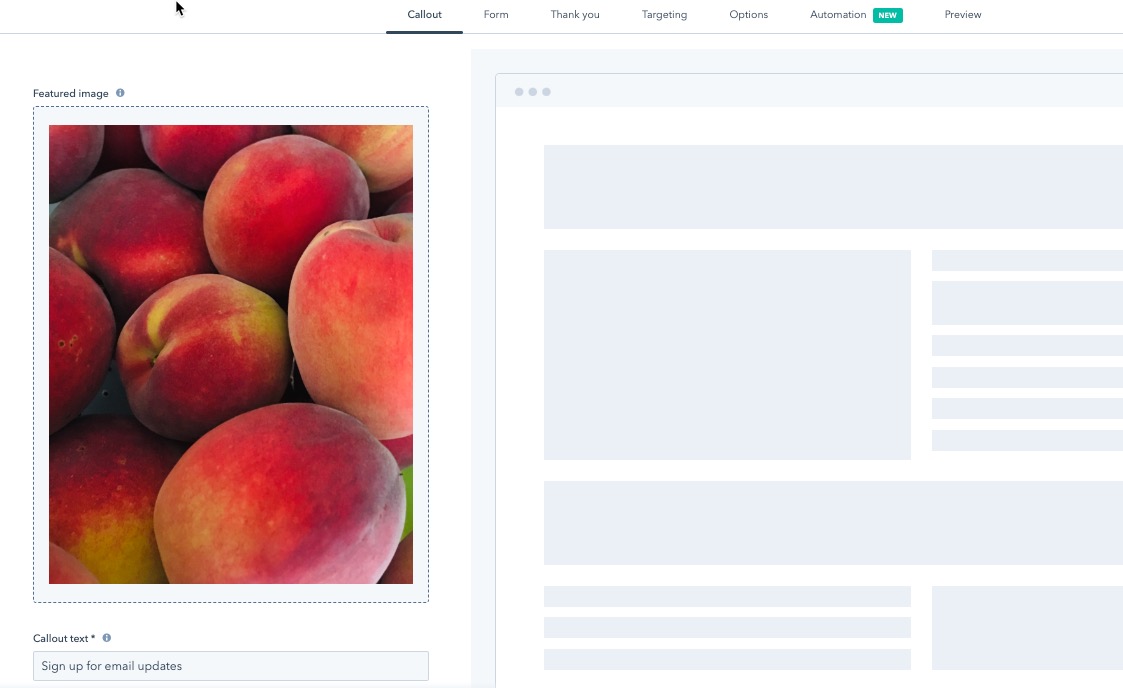
- Click Next to move forward. Clicking on Next in any of the six steps moves you forward through the form creation process.
- You can also click directly on the step label – Form. This section allows you to change the content of the form.
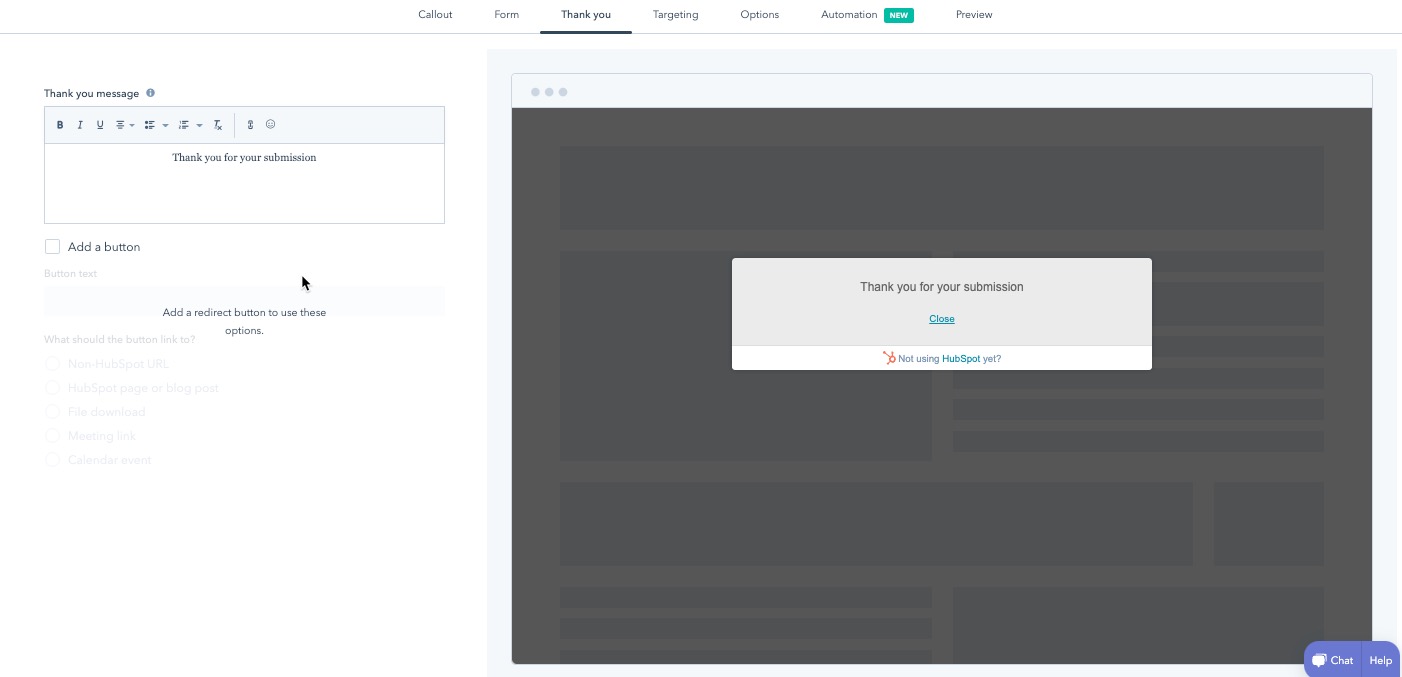
- Step three is labeled Thank you. By default, a thank you message is sent after the form is completed. This section allows you to modify the message.
- The Targeting section is next. You can choose the web pages where your pop-up or moving form will appear.
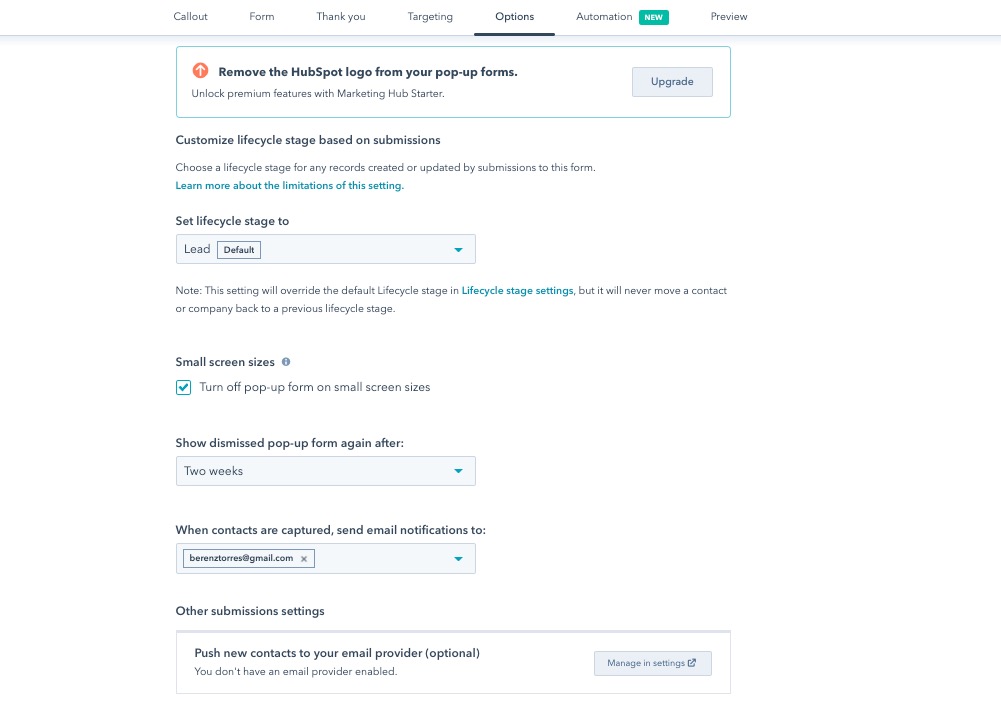
- Step five is the Options page. Choose from five options that affect how the form opens or actions taken after the form is submitted.
- The final step is the Automation page. When a form is submitted, HubSpot can provide an automatic response. The use of this option requires an upgraded account.
- Click on Preview to see the form before publishing.
- Click on Publish in the top right corner.
- A final confirmation message will appear saying, “Ready to launch?” Click on Set it live to complete the creation of the form.